
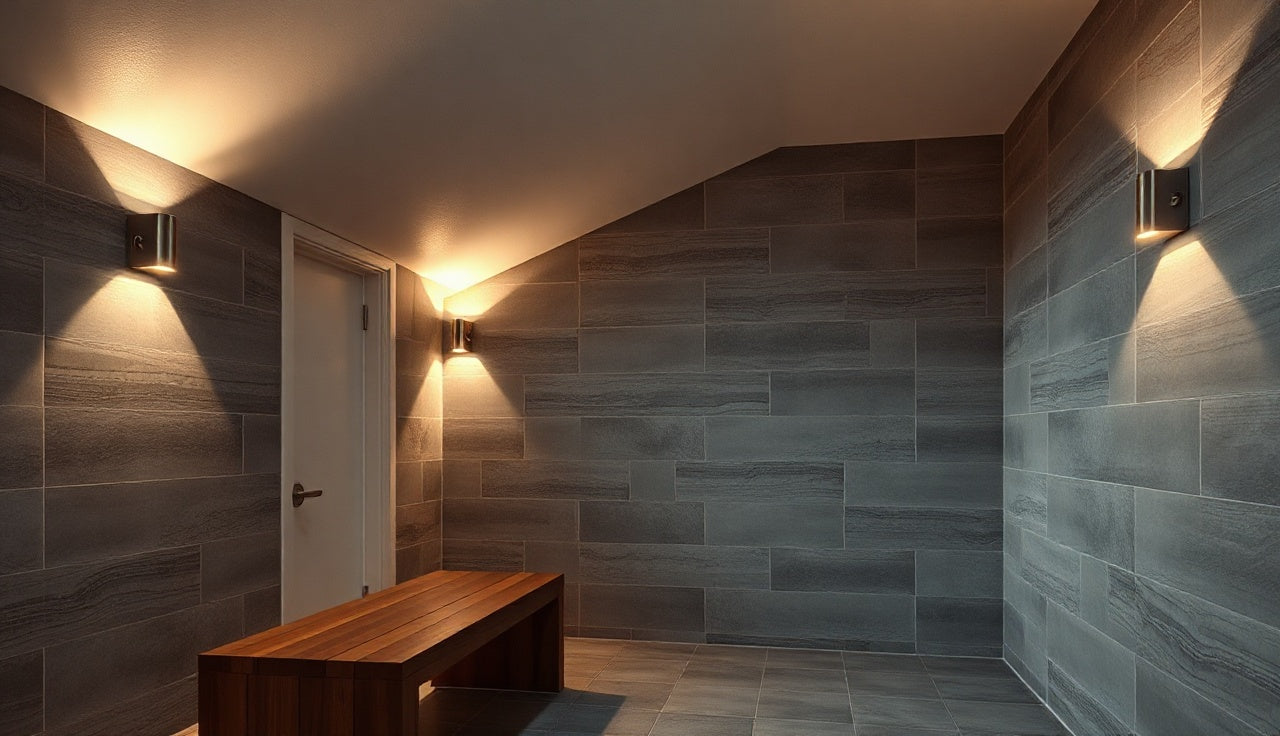
Short answer: slope a steam-room ceiling according to the selected enclosure assembly, use class, finish, manufacturer documents, project design, and local requirements. Do not copy one number into every room. Current LATICRETE and Schluter tile-system resources publish a 2-inch-per-foot detail for covered steam applications, while current MrSteam design guidance discusses material-dependent slopes and notes that MrSteam does not universally require slope for every residential steam shower.
The project still needs a complete ceiling assembly even when slope is not required by a particular document. That includes vapor control, structure, backing, finish support, perimeter transitions, movement joints, insulation strategy, compatible lights and devices, sealed penetrations, and inspection.
Reviewed July 31, 2026. This page compares current published guidance and provides a coordination workflow. It is not a structural design, ceiling detail, code determination, or manufacturer approval for a specific room.
Quick answers
Does every steam-room ceiling need the same slope?
No. Requirements depend on the selected enclosure assembly, finish, manufacturer, intermittent or continuous use, project documents, and local authority. Some published tile-system details call for 2 inches per foot, while other residential guidance differs.
Why are steam-room ceilings sloped?
The design goal is to manage condensation and reduce dripping onto occupants. Slope does not replace a complete water and vapor assembly, insulation strategy, compatible finish, sealed penetrations, movement joints, or inspection.
Can a residential steam shower have a flat ceiling?
Only when the selected system, generator guidance, finish manufacturer, design team, and local requirements allow it. Do not assume a flat ordinary shower ceiling is suitable merely because the room is small.
Should the ceiling slope to a wall or to the center?
Use the geometry detailed by the project team and accepted by the selected assembly. Direction affects height, condensate path, wall runoff, tile layout, lights, sprinklers or devices, door head, and framing.
Does ceiling slope affect generator sizing?
Yes, because the finished ceiling changes volume, height, surface area, and sometimes the manufacturer inputs. Size from final inside geometry using the exact brand's current method.
Can you add a sloped panel below an existing ceiling?
Sometimes, but the retrofit must coordinate structure, full vapor control, perimeter transitions, penetrations, finish support, headroom, lights, door, inspection, and access. A decorative panel alone is not a steam assembly.
First classify the room and assembly
Record whether the enclosure is an intermittent residential steam shower or a continuous-use commercial steam room. Then identify the complete ceiling system: substrate or panel, water and vapor membrane, seams, fasteners, movement joints, setting material, tile or other finish, insulation, and every penetration.
Do not combine one manufacturer's membrane with another manufacturer's slope or fastening detail without written compatibility. The assembly selected for the ceiling should have a current detail for the use class and support the finish weight, heat, humidity, condensation, cleaning, and service conditions.
What current sources actually say
| Current source | Published guidance | How to use it |
|---|---|---|
| LATICRETE Tiled Steam Room and Steam Shower manual | Defines ceiling slope as 2 inches per foot to reduce condensate dripping on occupants. | Use with the complete LATICRETE design, material, substrate, vapor, insulation, movement, and installation requirements. |
| Schluter Shower System Installation Handbook | Its current steam-room assembly detail calls for a 2-inch-per-foot minimum and permits slope to center to reduce wall rundown. | Confirm the exact intermittent or continuous-use detail, KERDI or KERDI-DS system, board thickness, fastening, seams, and penetrations. |
| MrSteam residential guidance | The current installation manual says the ceiling should be sloped to prevent dripping. A current design article discusses one-half inch to 2 inches per foot by material and notes that MrSteam does not itself require slope in every low-water residential steam shower. | Resolve the room with the selected enclosure system, finish, generator documentation, and project team instead of quoting one sentence alone. |
Choose geometry from the whole room
A one-way shed slope, center ridge, multiple planes, shallow vault, or another approved geometry changes the high and low points, wall runoff, tile layout, cuts, perimeter joints, lighting, door header, glass, bench clearances, and perceived headroom. Draw reflected ceiling plans and sections before framing.
Where the adopted requirement is expressed as rise per horizontal foot, calculate total change from the actual run. A 2-inch-per-foot detail across a 4-foot one-way run creates 8 inches of elevation difference. That arithmetic is not a recommendation for a different assembly. For a center ridge, calculate each run separately and show how planes meet.
Protect finished headroom and access
Dimension the lowest finished ceiling point, not just the framing. Include backing, membrane, mortar, tile, profiles, sealant joints, fixtures, and any soffit. Coordinate door height, transom, glass fabrication, bench and standing zones, accessible turning or bench space where applicable, and the generator sizing input.
A retrofit ceiling can reduce clear height enough to change comfort, accessibility, glass, and equipment selection. Use the existing-shower conversion plan before assuming a dropped or sloped panel is the easiest fix.
Design structure for the complete load
The ceiling framing and attachment schedule must support the actual substrate, membrane, setting materials, tile or stone, profiles, lights, and other approved devices. Ceiling fastening can be more demanding than wall fastening. Use the assembly handbook and structural design rather than a generic stud spacing or weight limit.
Confirm deflection, backing at seams and devices, corrosion compatibility, fastener type and embedment, panel thickness, movement joints, and transitions to walls. Do not assume treated lumber, steel studs, cement board, or any single material solves vapor control or structural performance by itself.
Continue vapor control across every plane
The ceiling membrane or approved panel must connect continuously to the wall system at all transitions. Treat seams, fasteners, inside and outside corners, ridges, changes of plane, door header, and every penetration with the selected system. Schluter's current guidance requires its membrane on ceilings for intermittent-use steam showers and KERDI-DS on walls and ceilings for continuous-use steam rooms.
Insulation and dew-point control belong to the project design. LATICRETE's manual explains that insulation placement and wall or ceiling configuration are design-team decisions. Do not add a polyethylene sheet, foam, or another vapor layer without checking whether it creates an incompatible double barrier or changes the tested assembly.
Coordinate lights, devices, and penetrations before framing
List every light, speaker, sensor, sprinkler or fire-protection device when applicable, fastener, conduit, and access opening. Confirm that each product is permitted for the location and that the enclosure system has an approved penetration detail. Slope can make a recessed fixture sit unevenly or direct condensate toward a trim or opening.
Do not field-invent a penetration after the membrane is complete. Obtain the rough opening, backing, seal, clearance, service, and replacement detail in advance. Keep heating, ventilation, and air-conditioning devices out of the enclosure unless the complete design explicitly permits them.
Include final geometry in generator sizing
Measure the finished low and high points and calculate the actual enclosure volume according to the selected manufacturer's input method. Record surface materials, ceiling geometry, exterior conditions, glass, windows, and duty. Do not reduce the room to a rectangular box when the tool asks for actual dimensions or special review.
Use the steam-generator sizing worksheet and save written manufacturer clarification when the ceiling is tall, vaulted, multi-plane, irregular, or near a model boundary.
Construction and inspection hold points
| Hold point | Verify | Record |
|---|---|---|
| Design | Use class, assembly, required slope, geometry, finished heights, finish, devices, structure, insulation, and generator inputs. | Approved plan, sections, reflected ceiling plan, details, and product documents. |
| Framing | High and low elevations, plane, support, backing, deflection, openings, and door or glass coordination. | Measurements, photographs, and inspection approval. |
| Vapor assembly | Panels or substrate, fasteners, seams, ridges, corners, wall transitions, penetrations, movement joints, and continuity. | Product lots, installer checklist, concealed photos, and required test results. |
| Finish | Coverage, support, tile layout, movement joints, penetrations, profiles, low-point details, and actual finished geometry. | Final dimensions, finish records, care instructions, and punch list. |
| Commissioning | Condensate behavior, unexpected dripping, leakage, finish movement, device condition, door, and generator operation. | Dated commissioning report, corrections, and owner handoff. |
Retrofit decision
For an existing flat or undocumented ceiling, first determine the retained assembly, moisture condition, structure, utilities, and available height. Compare selective reconstruction with a properly detailed new ceiling. A thin decorative overlay cannot compensate for missing vapor control, weak support, failed seams, or unapproved penetrations.
Coordinate the opening with the steam-room door and seal guide and the complete project with the home steam-room build guide.
Sources
- LATICRETE. Tiled Steam Room and Steam Shower Technical Design Manual.
- Schluter Systems. Current Shower System Installation Handbook.
- MrSteam. Residential steam-shower design discussion.
- MrSteam. Installation, operation, and maintenance manual.

Share:
How to seal a sauna floor drain properly (step-by-step)
Building a sauna at home: costs, types, and how to do it right