
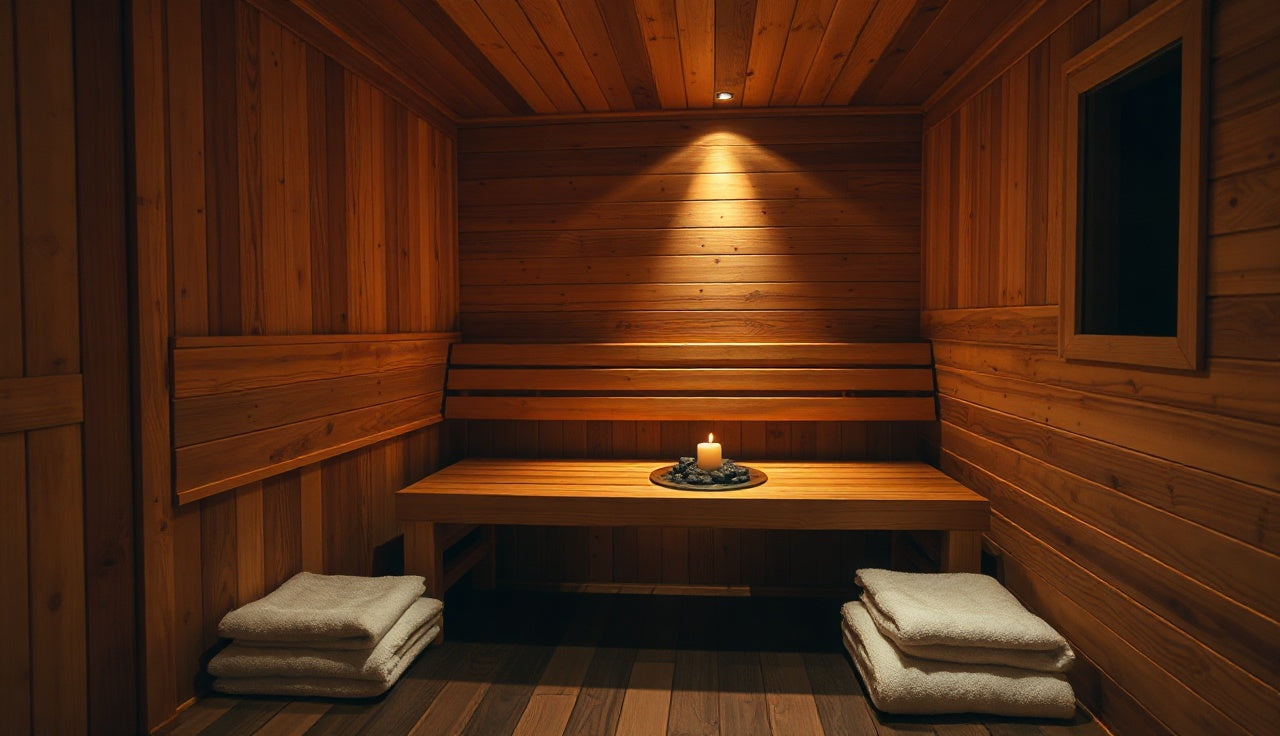
Short answer: sauna bench height is a system, not one number measured from the floor. Fix the finished ceiling and exact heater first. Then place the upper sitting surface for appropriate headroom, confirm the foot level and heat zone, lay out safe steps, and check every required heater, guard, sensor, ventilation, and building clearance.
Harvia currently recommends 1100 to 1200 millimeters, about 43 to 47 inches, between the upper bench and ceiling in its bench guidance. It also gives 350 millimeters, about 13.8 inches, as a step-height recommendation. Those are useful planning references from one manufacturer, not universal code dimensions.
Reviewed July 31, 2026. SweatDecks did not conduct thermal-mapping, load, slip, fall, burn, or accessibility tests for this guide. Final dimensions belong in the project drawings and must follow the exact sauna and heater instructions plus applicable local requirements.
Quick answers
What is a standard sauna bench height?
There is no single height that fits every sauna. Start with the heater and sauna manuals, then place the upper bench for suitable headroom, heat exposure, access, and required clearances. Harvia currently recommends 1100 to 1200 mm, about 43 to 47 inches, between its upper benches and the ceiling.
How far should an upper sauna bench be below the ceiling?
Harvia recommends 1100 to 1200 mm for its bench planning guidance and notes that shorter users may need less. Treat this as a manufacturer recommendation, not a universal code. Mock up the seated position and check the sauna, heater, ventilation, and local requirements.
How high should sauna steps be?
Harvia gives 350 mm, about 13.8 inches, as a step-height recommendation and suggests using two lower steps when users need an easier climb. Local stair, guard, accessibility, and commercial rules may require a different solution.
Should sauna users' feet be above the heater stones?
Keeping feet near or above the upper stone level is a useful traditional-sauna design goal because heat stratifies, but it is not a substitute for the heater manual. Tall pillar heaters, wall heaters, wood stoves, and infrared cabins create different constraints.
Is sauna bench height regulated by the ADA?
Do not assume a general sauna dimension is automatically accessible. The applicable facility type, route, turning space, transfer approach, controls, local code, and authority having jurisdiction determine project requirements. Ask the designer or code official before construction.
Can I change bench height after installing the heater?
Sometimes, but moving a bench can change heater clearances, guard geometry, sensor relationships, access, and ventilation. Recheck the exact heater and sauna instructions before modifying supports or platforms.
Bench-height planning table
| Measurement | Useful planning reference | What controls the final number |
|---|---|---|
| Upper bench to ceiling | Harvia recommends 1100 to 1200 mm, about 43 to 47 in. | Seated user height, heater and sensor instructions, ceiling shape, ventilation, and local requirements. |
| Step or tier rise | Harvia recommends 350 mm, about 13.8 in, and suggests two lower steps for an easier climb. | User mobility, tread depth, hand support, guards, project code, and commercial or accessible design. |
| Feet relative to stones | Near or above the upper stone level is a common traditional-sauna goal. | Heater form, stone column height, required clearances, guard, room height, and intended heat exposure. |
| Bench depth | Harvia recommends at least 500 mm for an upper bench and 600 mm or more for lying down or sitting with feet up. | Posture, backrest, circulation path, heater zone, room width, and intended use. |
The table is a starting worksheet. A product manual can override a generic rule of thumb. For example, Harvia's current UL-listed KIP80B product page publishes model-specific floor, side, front, and ceiling safety distances and directs users to its manual. Another heater can have different values.
Why measuring only from the floor can fail
A floor-first rule hides the dimensions that determine comfort and safety. Two rooms can have an upper bench at the same floor height but different ceiling heights. The lower-ceiling room puts the user higher in the hot zone, while the taller room leaves more heat above the user's head.
Finished floor level can also change through tile, sleepers, drainage slope, duckboards, or a raised platform. Record every height from one project datum and mark whether a dimension is measured to the top of framing, the finished walking surface, the top of a tread, or the finished sitting surface.
Start at the ceiling and work down
- Record the lowest finished ceiling condition. Include soffits, sloped sections, fixtures, sprinkler scope, and any assembly that reduces clear space.
- Choose a provisional upper-bench-to-ceiling distance. Harvia's 1100 to 1200 mm recommendation is a grounded starting point for its bench designs.
- Mock up the sitting surface. Use a rigid temporary platform that is not used during heater operation. Seat the tallest expected adult and check headroom, posture, backrest position, entry, and sightlines.
- Locate the foot platform and lower tier. Balance heat-zone goals with manageable step rises and adequate tread area.
- Reconcile the heater system. Check clearances, embedding flange, guard, controller, sensor, air path, and service access against the exact model instructions.
Do not raise a bench merely to copy a photo. A compact room with a wall-mounted heater and a tall room with a pillar heater can require different layouts even when both seat four people.
Bench height and the heater belong on one drawing
The heater is not a movable icon. Its mounting height, stone height, guard, electrical or chimney connections, control sensor, and safety distances define part of the bench envelope. Put the model number and manual revision on the drawing so the installer and inspector are checking the same requirements.
With a wall-mounted electric heater, the foot bench may pass near the heater's side or front clearance zone. With a tall pillar heater, the stones can extend above the foot platform and the heater may be embedded only with a compatible flange and guard. With a wood-burning stove, the hot body, loading door, chimney, floor protection, and combustible clearances can dominate the plan.
A rule such as “feet above the stones” describes a desired heat relationship, not permission to violate a safety distance. When the traditional heat-zone goal conflicts with the listed heater installation, change the room, heater, or bench concept with the project professional.
Plan every rise and landing
A two-tier sauna may still need a separate step or platform. Large jumps feel more difficult when users are warm, barefoot, wet, or turning around. Harvia's 350 mm step recommendation is about 13.8 inches, which is much taller than many ordinary stairs. The right response may be an additional lower step, a different bench arrangement, or a project-specific accessible solution.
Draw the whole route from the door to the upper seat. Include clear tread depth, open edges, hand support, heater guards, door swing, floor slope, lighting, and a place to turn. Avoid a narrow removable stool that can slide into a heater zone. Commercial facilities and projects serving users with limited mobility need professional review of the applicable rules.
How sauna type changes the decision
Traditional electric sauna
Prioritize upper-bench headroom, foot level, heater clearances, sensor placement, and ventilation. Use the exact heater manual, even when the same brand sells several similar-looking models.
Wood-burning sauna
Coordinate the bench with the stove, stone cage, chimney, loading access, floor and wall protection, guard, and combustion-air plan. Do not transfer a wall-heater layout to a wood stove.
Infrared cabin
Infrared emitters heat occupants differently from a stone heater. Bench height and distance affect the body areas facing the emitters. Follow the cabin or emitter maker's layout and electrical instructions instead of forcing a traditional feet-above-stones rule onto the design.
Commercial and accessible facilities
Capacity, egress, guards, supervision, surfaces, controls, maintenance, and accessibility can be regulated or specified by the project. A generic residential bench measurement cannot establish compliance. Confirm the governing code edition and the authority having jurisdiction.
Separate height, depth, layout, and material decisions
Height determines where the body sits in the room, but it cannot repair a seat that is too shallow, a backrest that forces an awkward posture, or a support system that lacks adequate structure. Use the dedicated guides for bench depth, bench layout, bench materials, and bench ergonomics.
Keep the structural design separate too. Wall backing, spans, fasteners, removable sections, hidden services, load assumptions, wood movement, and cleaning access need drawings or maker instructions. A comfortable mock-up does not prove structural capacity.
Bench-height worksheet
| Field to record | Project value | Verification |
|---|---|---|
| Finished floor datum and ceiling height | _____ | Field measurement after finish allowances |
| Upper sitting surface elevation | _____ | Headroom mock-up and sauna design |
| Foot-bench elevation | _____ | Stone level, heater zone, posture, and clearance |
| Step elevations and tread depths | _____ | Route, mobility, guards, and code review |
| Heater, guard, flange, and sensor model | _____ | Current product manuals and approved drawings |
| Bench support and wall backing | _____ | Manufacturer or qualified structural design |
Final pre-build checks
- Measure from finished surfaces and label each reference point.
- Mock up the upper seat, foot support, steps, backrest, and door route.
- Check the exact heater model's current manual and every safety distance.
- Coordinate heater guard, embedding kit, controls, sensor, ventilation, and service access.
- Confirm bench support, backing, fasteners, spans, loads, and removable sections.
- Review accessibility, stair, guard, commercial, and local requirements with the appropriate professional.
- Record the final dimensions on one drawing before finishes conceal the backing.
Share:
Minimum ceiling height for a home sauna: what you actually need
Sauna wood types compared: hemlock vs cedar vs basswood