The essence of a sauna experience lies not just in its soothing heat but in its ability to retain that warmth efficiently. Proper insulation is pivotal to achieving this goal, ensuring your sauna is a haven of relaxation and health benefits. This guide is crafted to empower you, whether you're a DIY enthusiast or considering professional services, with the knowledge and confidence to insulate your sauna effectively.
Understanding Sauna Insulation

Types of Insulation Materials
Insulation for a sauna demands materials that can withstand high humidity and temperatures. The most commonly used types are:
-
Fiberglass Insulation
Widely used due to its thermal resistance and affordability. It's essential to use a vapor barrier with fiberglass to prevent moisture build-up. -
Foam Board Insulation
Rigid panels of foam, great for their high insulation value and moisture resistance. They are an excellent choice for floors and flat surfaces. -
Reflective Foil Insulation
Acts by reflecting heat back into the sauna. While not as effective in thermal resistance as others, it's a good supplementary material.
Benefits of Proper Insulation
-
Energy Efficiency
Proper insulation ensures less heat escapes, meaning your sauna heats up faster and uses less energy. -
Comfort
Maintains a consistent temperature, crucial for a relaxing sauna experience. -
Durability
Prevents moisture damage, thereby extending the life of your sauna.
Preparing for Sauna Insulation

Tools and Materials Needed
You'll need insulation materials, a vapor barrier, a staple gun, measuring tape, utility knife, and safety gear like gloves and goggles.
Safety Precautions
- Ensure good ventilation when working with fiberglass.
- Wear protective clothing to prevent skin irritation.
Step-by-Step Insulation Guide
Insulating Walls, Ceiling, and Floor
-
Measuring and Cutting
Measure the space and cut the insulation material accordingly. -
Applying Vapor Barrier
Start with the ceiling and then the walls. Ensure the barrier is taut and sealed. -
Installing Insulation
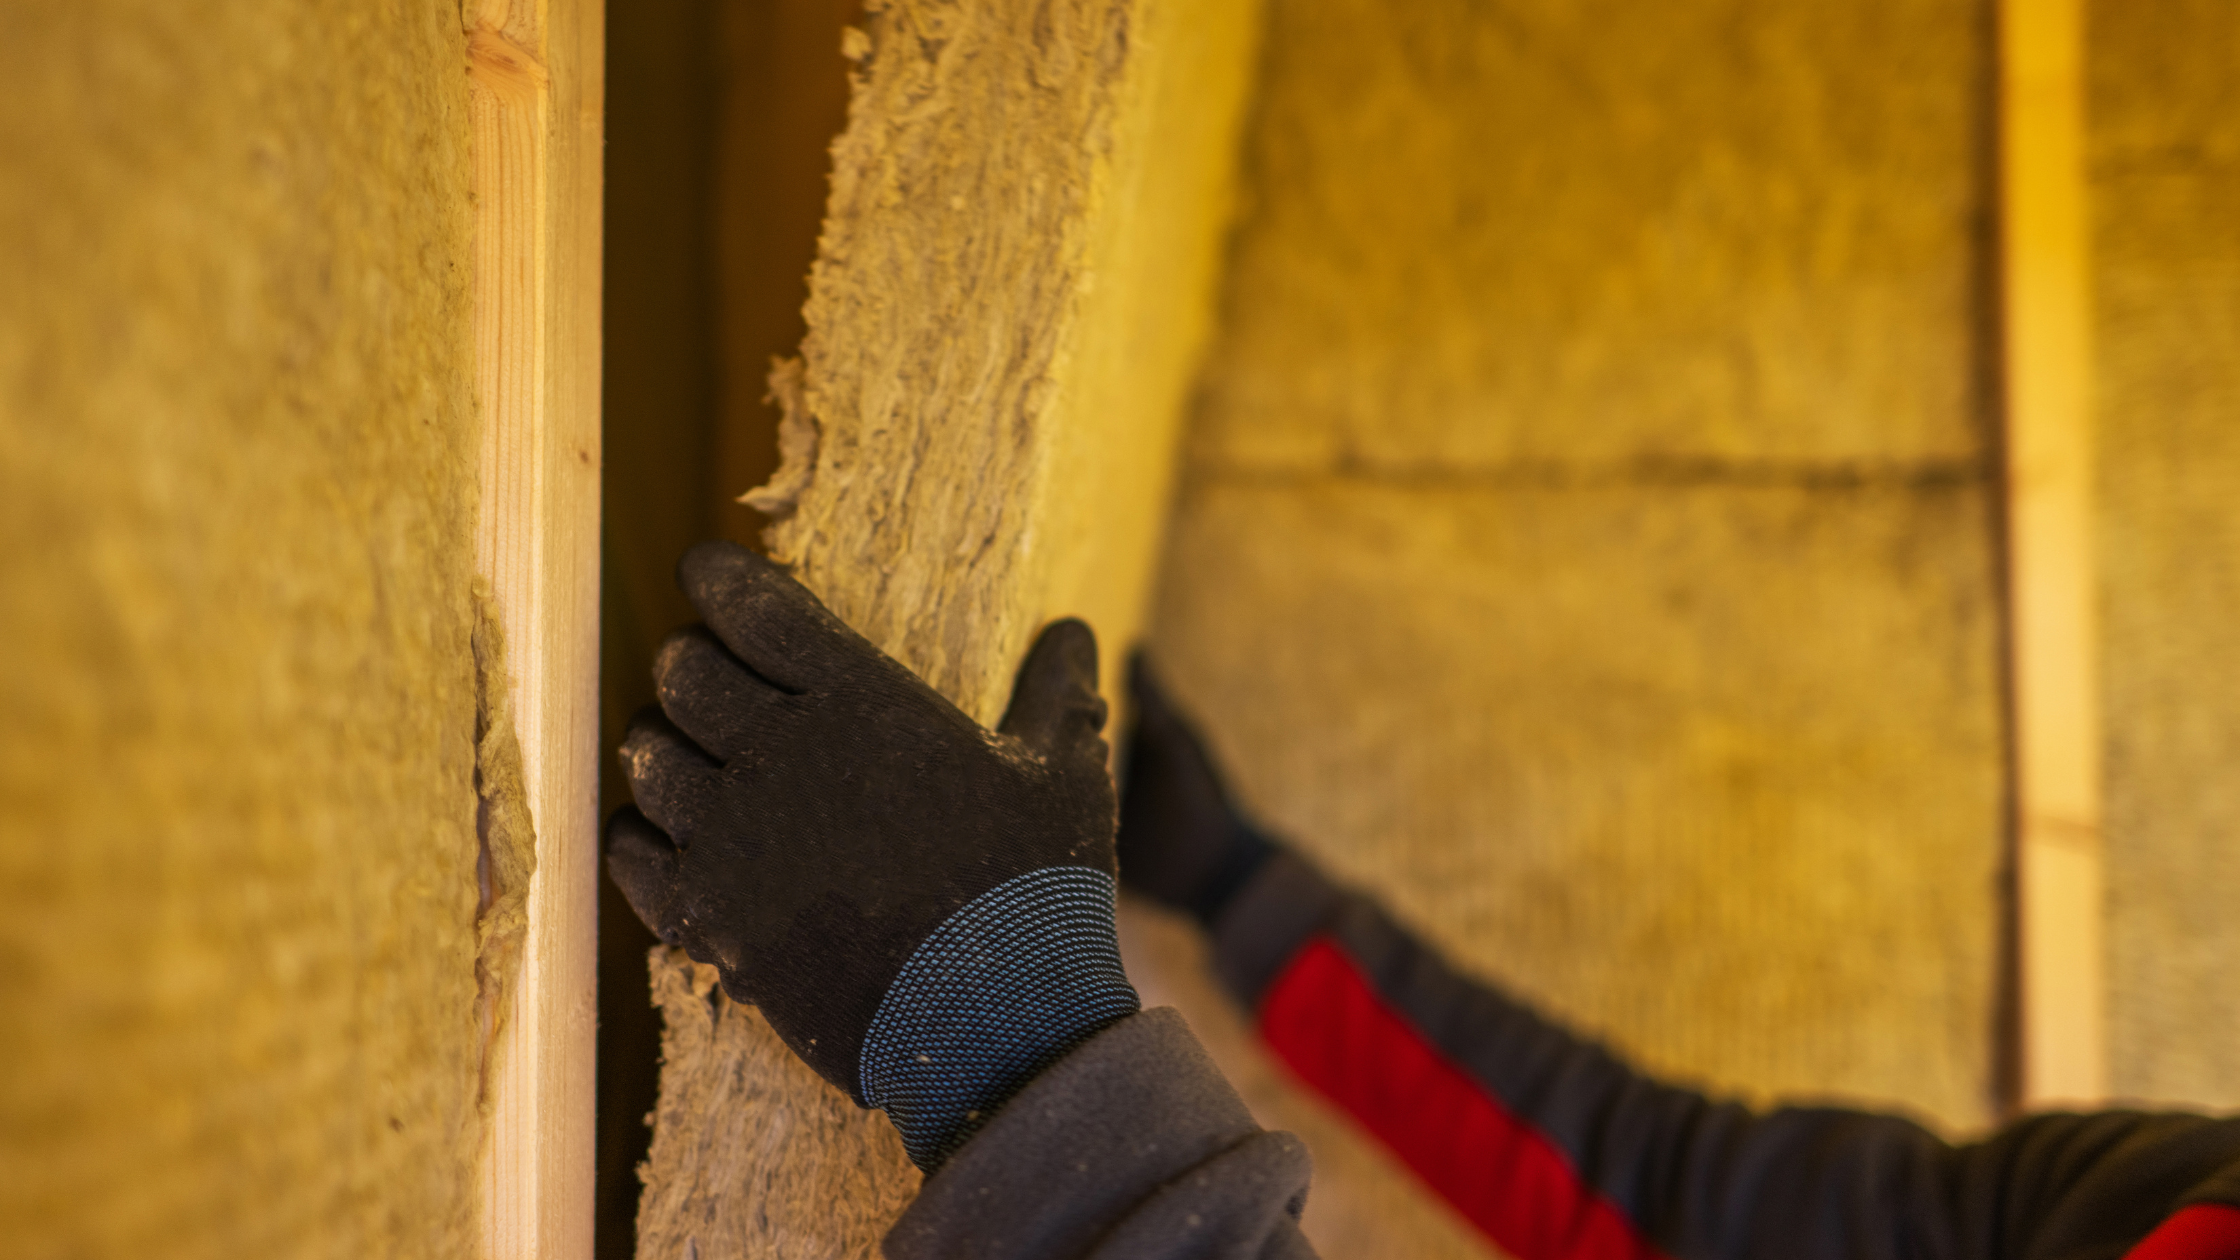
Fit the insulation between the joists and studs, and secure with a staple gun. -
Sealing Gaps
Use foam insulation to seal any gaps for airtight insulation.
Tips for Effective Insulation
- Ensure no gaps or spaces in the insulation.
- The vapor barrier should face the sauna's interior.
- Insulate the door with a special sauna door or weather stripping.
Professional vs. DIY Insulation
When to Hire a Professional
If you're not confident in your DIY skills or have a complex sauna design, professional installation ensures safety and effectiveness.
Pros and Cons of DIY Insulation
- Pros: Cost-effective, satisfying to complete yourself.
- Cons: Time-consuming, risk of improper installation.
Maintenance and Upkeep
Regular Maintenance Tips
- Check for any signs of moisture or wear.
- Ensure the vapor barrier and seals are intact.
Long-term Care for Sauna Insulation
Regular inspections and timely repairs are key to the longevity of your sauna's insulation.
Conclusion
Insulating your sauna is a rewarding project that enhances your sauna experience. Whether you choose the DIY route or professional services, this guide provides a comprehensive approach to ensure your sauna is a sanctuary of warmth and wellness. Embrace the journey of enhancing your sauna and revel in the satisfaction of a job well done.


Share:
Sauna Before or After Massage
Best Barrel Sauna for Home