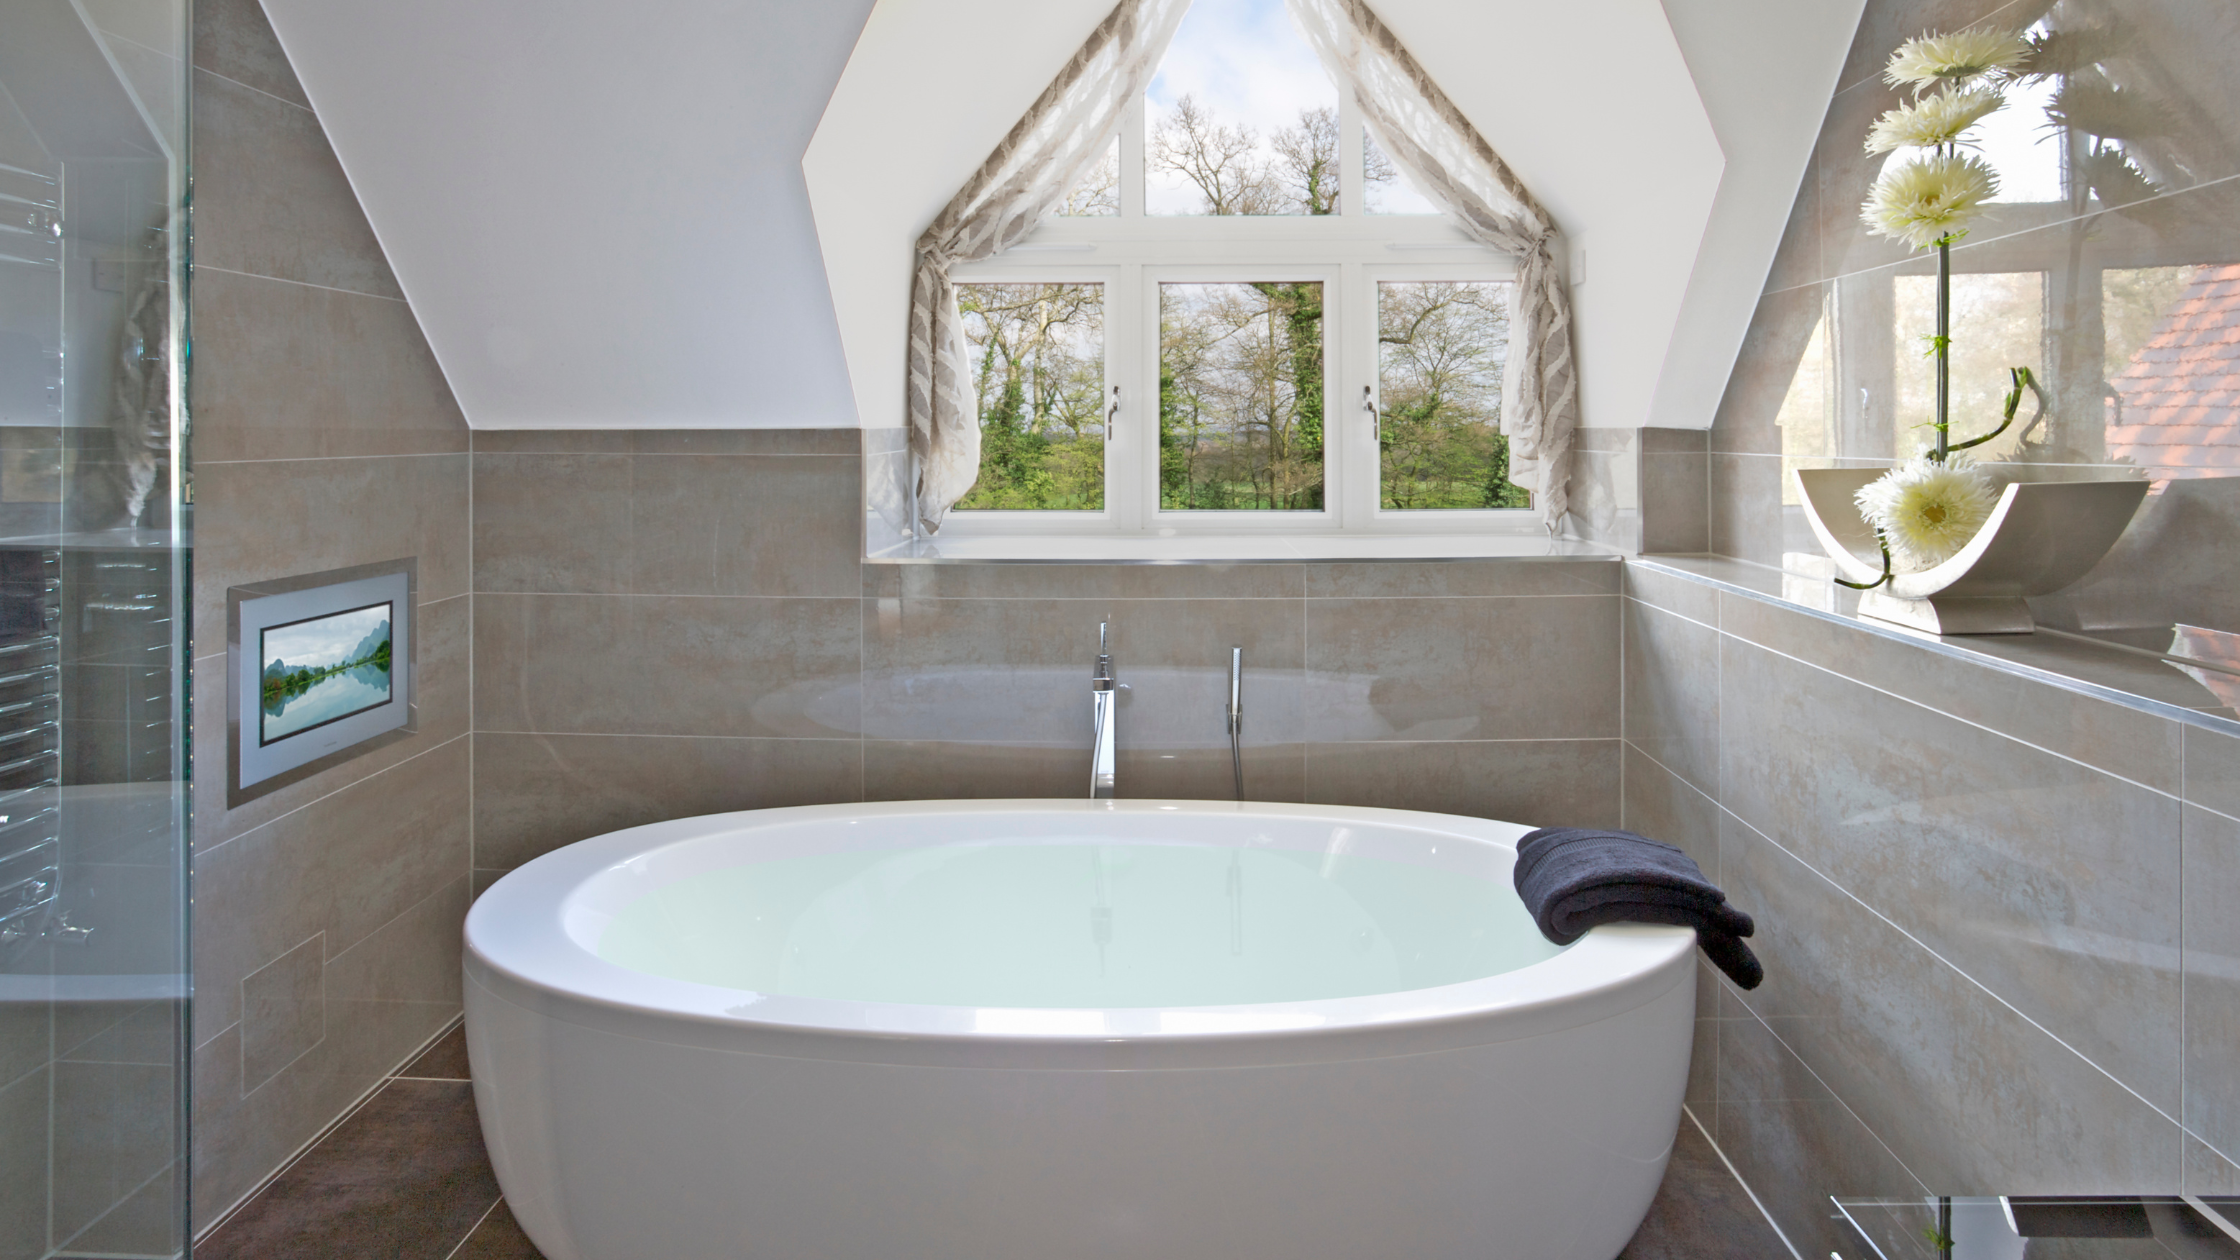
Welcome to the invigorating world of cold plunge therapy! A cold plunge tub, an oasis of rejuvenation, offers a myriad of health benefits, including enhanced circulation, reduced muscle inflammation, and a boost in mental clarity. Embracing a DIY approach to building your cold plunge tub not only adds a personal touch to your wellness journey but also empowers you with a sense of accomplishment. Let's dive into the transformative experience of creating your very own cold therapy haven at home.
Materials and Tools Needed
To begin, gather the following materials:
- A sturdy, insulated tub or large container (capable of holding water and bearing weight)
- Waterproof sealant
- Insulation materials (like foam boards)
- A water filtration and circulation system
- A chilling unit or ice
- Plumbing supplies (pipes, valves, and fittings)
- Non-slip surface material for safety
Recommended tools include:
- Drill
- Saw (for any modifications)
- Measuring tape
- Caulking gun
- Wrench and pliers
Step-by-Step Construction Guide
-
Choosing the Right Spot: Select a location that can support the weight and has access to water and drainage. Ensure it's a place where you can relax and rejuvenate.
-
Preparing the Tub: If you're using a pre-made tub, ensure it's well-insulated. For a custom build, construct the frame using durable materials and insulate it thoroughly.
-
Sealing and Waterproofing: Apply waterproof sealant inside the tub to prevent leaks. Allow it to dry completely.
-
Installing the Filtration System: Set up a filtration system to keep the water clean. This might involve some basic plumbing.
-
Setting Up the Chilling Unit: For consistent cold temperatures, install a chilling unit. Alternatively, you can use ice, but this requires more maintenance.
-
Safety Features: Install non-slip surfaces around the tub and ensure all electrical components are safely installed and waterproofed.
-
Finishing Touches: Test the tub for leaks and proper temperature. Add aesthetic elements like plants or stones for a serene environment.
Safety Tips and Best Practices
- Always check the temperature before plunging to avoid shock.
- Keep the area around the tub dry to prevent slips.
- Regularly clean and maintain the tub to prevent bacteria growth.
- Consult with a professional for any complex electrical or plumbing work.
- Start with shorter sessions and gradually increase your time in the cold plunge.
Conclusion
Embarking on the journey of building your cold plunge tub is not just about the end result; it's about embracing a lifestyle change that prioritizes wellness. Remember, the health benefits of cold therapy are profound, from reducing stress to improving sleep quality. So, take the plunge into this DIY project and immerse yourself in the transformative power of cold water therapy!
Looking for more wellness tips and curious about sauna use? Check out our latest Sweat Decks blogs for more Health and Wellness tips


Share:
How to Effectively Apply Hot and Cold Therapy at Home for Pain Relief
Unlocking the Wellness Secrets of Infrared Saunas