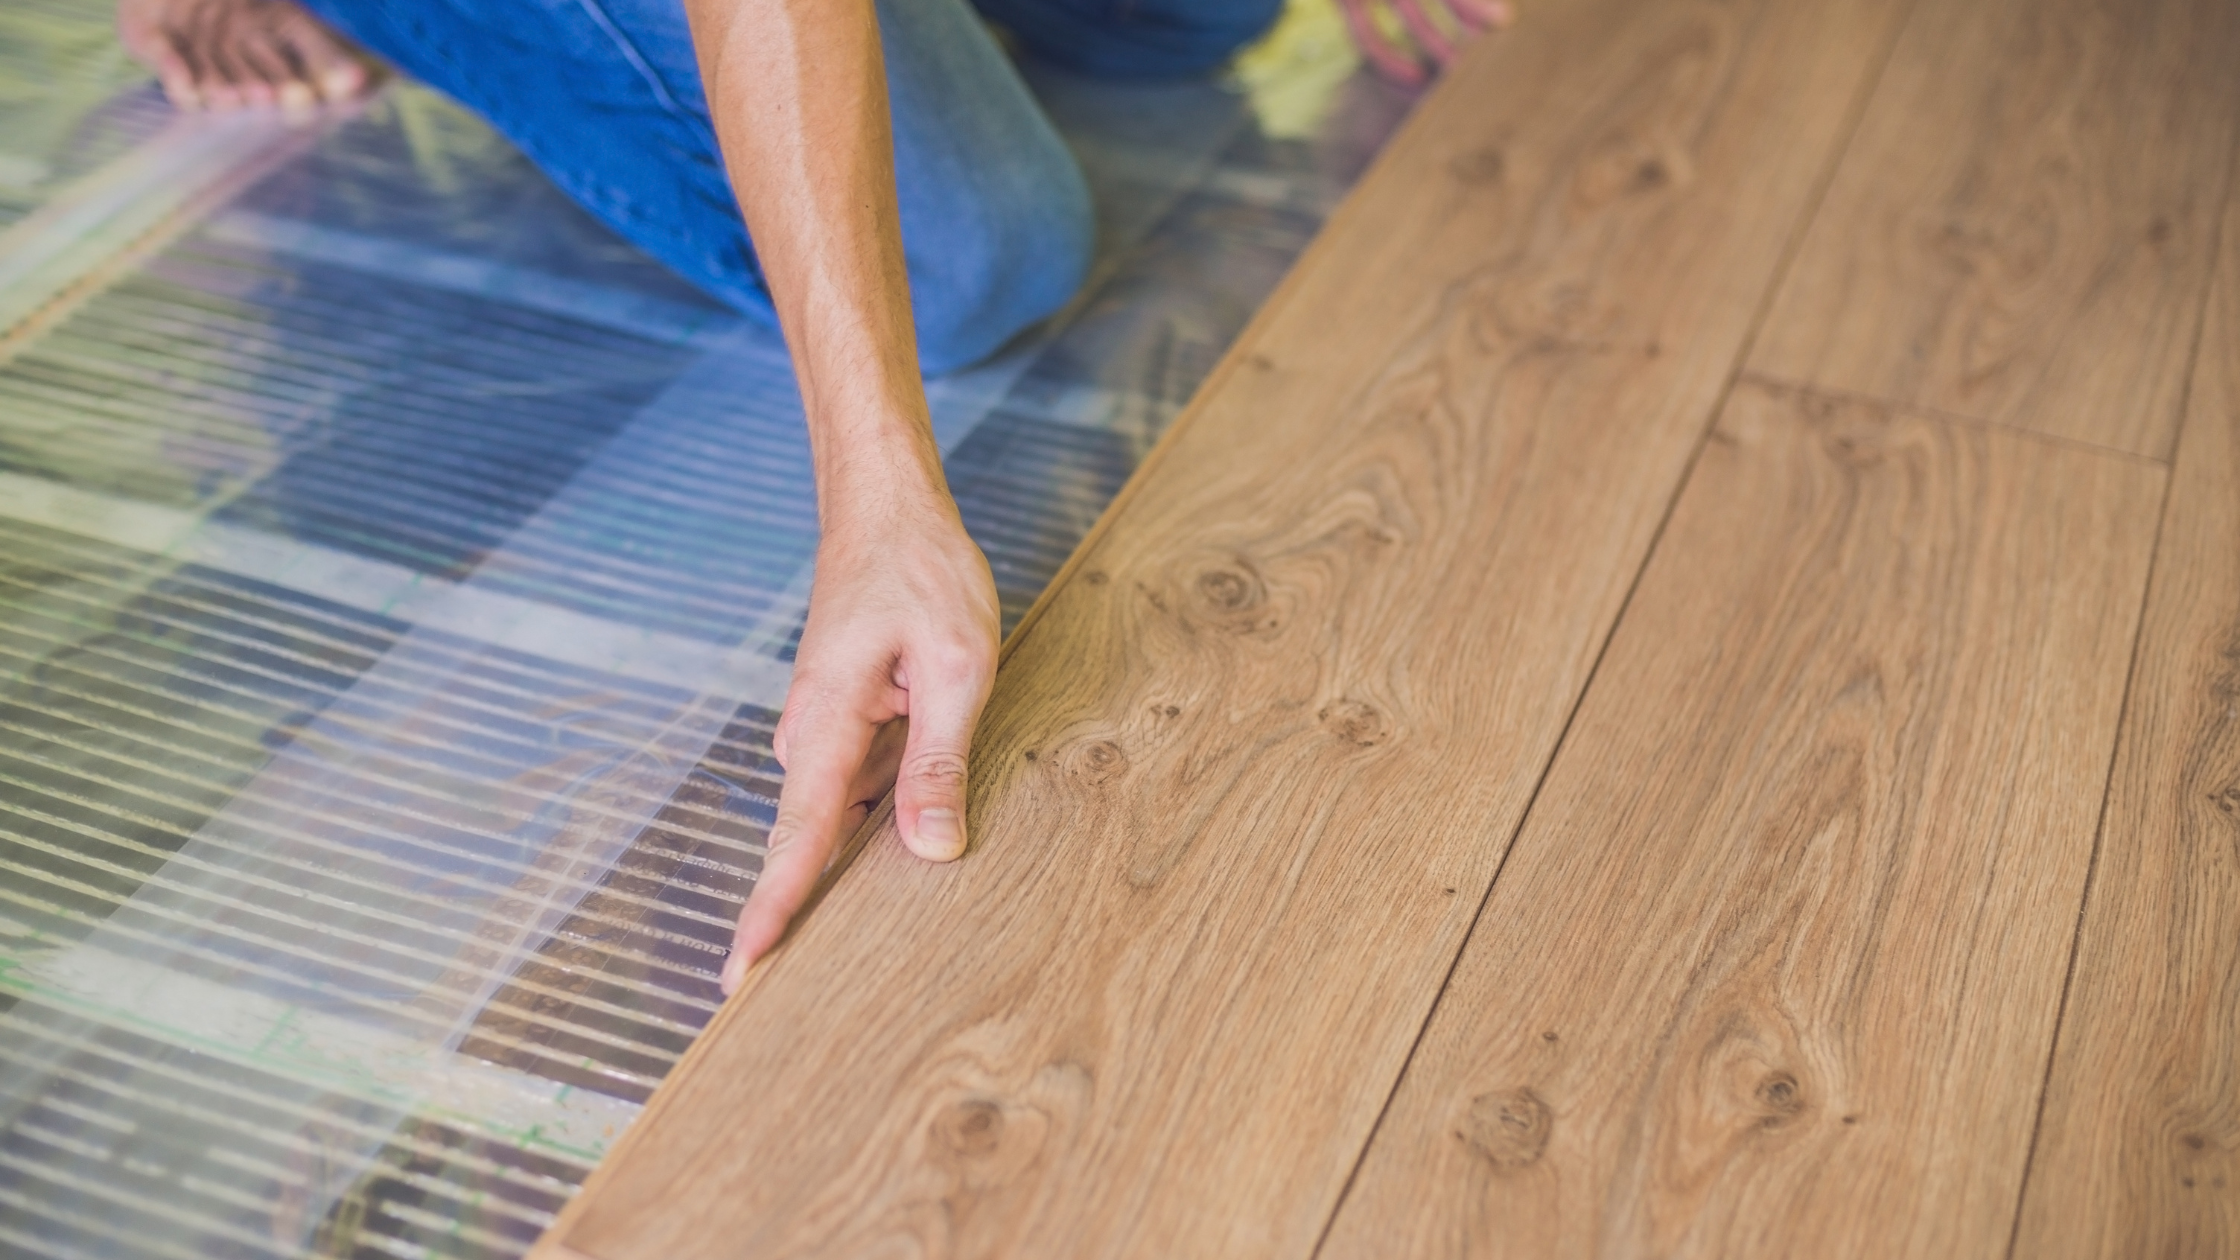
Welcome to the world of wellness and DIY craftsmanship! Infrared saunas have gained immense popularity for their health benefits, including improved circulation, detoxification, and relaxation. This guide empowers you, the DIY enthusiast, to create your own infrared sauna sanctuary. Embrace the journey of building something that not only enhances your home but also your well-being.
What You Need to Know Before Starting

Understanding Infrared Technology: Infrared saunas differ from traditional saunas by using infrared panels instead of conventional heat to penetrate and warm your body directly. This method is more energy-efficient and provides a gentler heat experience.
Safety Considerations: Safety is paramount. Ensure you're familiar with handling electrical components and understand the basics of construction. Always wear protective gear.
Required Tools and Materials: You'll need basic construction tools, infrared panels, insulation materials, wood for the frame and interior, and electrical wiring supplies. Choose materials that are resistant to moisture and heat.
Planning Your Infrared Sauna

Choosing the Location: A well-ventilated area, preferably close to a power source, is ideal. Consider space availability in your home – a small room or a section in your garage could be perfect.
Size and Design Considerations: The size depends on personal preference and available space. Standard sizes range from one-person cabins to larger family-sized rooms. Design it for comfort and ease of use.
Obtaining Necessary Permits: Check with your local building authority for any permits or regulations regarding sauna construction in your area.
Step-by-Step Construction Guide
-
Building the Frame: Construct a sturdy frame using your chosen wood. Ensure its level and stable.
-
Installing Insulation and Infrared Panels: Proper insulation is crucial for efficiency. Install the insulation according to manufacturer instructions, followed by the infrared panels. Ensure they are evenly distributed for consistent heat.
-
Electrical Setup and Safety: This step requires utmost caution. If you're not experienced with electrical installations, consider hiring a professional. Ensure all wiring complies with safety standards.
-
Finishing Touches: Install benches, a door, and any additional features like lighting or a sound system. Use materials that can withstand high temperatures and humidity.
Testing and Maintenance
Ensuring Functionality and Safety: Test your sauna before the first use. Check all electrical connections and ensure the infrared panels are working correctly.
Regular Maintenance Tips: Regular cleaning is essential. Use natural cleaners to avoid chemical exposure. Inspect electrical components periodically for any signs of wear.
Conclusion
Congratulations on completing your infrared sauna! This journey not only adds a wellness feature to your home but also showcases your ability to undertake significant DIY projects. Share your experiences and insights with the community, and enjoy the fruits of your labor – a personal oasis for relaxation and health.
Looking for more wellness tips and curious about sauna use? Check out our latest Sweat Decks blogs for more Health and Wellness tips


Share:
How to Make a Sauna in Your Bathroom
Post Cold Plunge Recovery