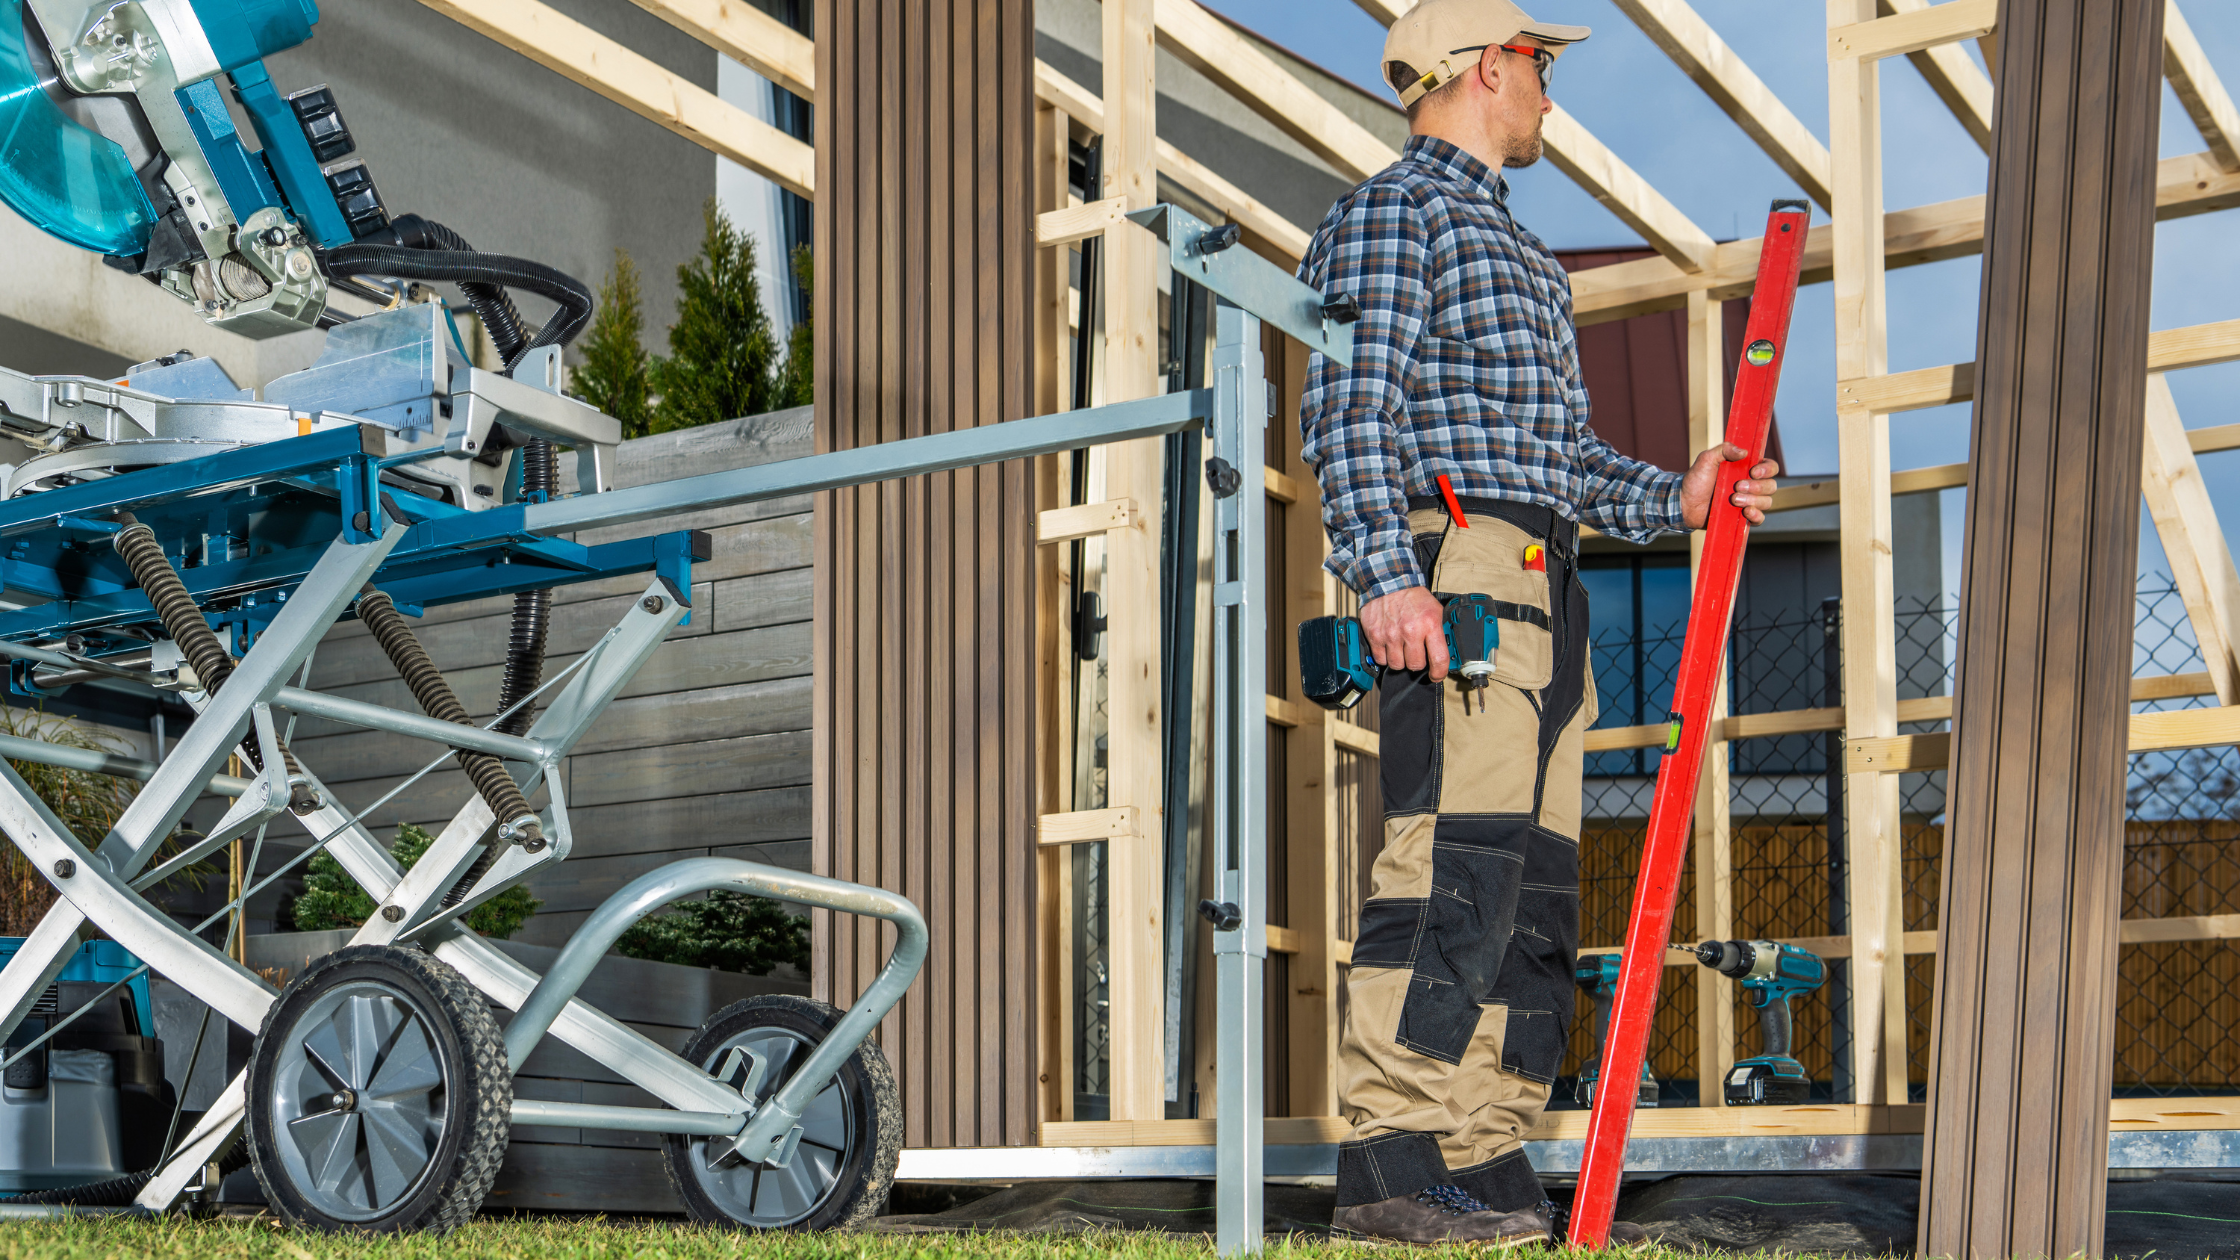
Imagine the luxury of a warm, soothing sauna right in your own home. Building a sauna in your basement is not just an upgrade to your property; it's an investment in your wellness and relaxation. This guide will walk you through every step of creating your personal sauna sanctuary, ensuring a rewarding DIY experience.
Planning Your Sauna

Size and Location Considerations
First, assess your basement space. Ideally, your sauna should be close to a water source and have access to proper electrical outlets. The size depends on your available space and how many people you plan to accommodate. A typical home sauna is around 4'x8', but tailor this to your needs and space.
Required Permissions and Safety Regulations
Before you start, check local building codes and obtain necessary permits. Saunas require proper ventilation and electrical wiring, so adhering to safety standards is crucial. Consult with a professional if you're unsure about any regulations.
Materials and Tools Needed
You'll need:
- Sauna heater (electric, wood-burning, or infrared)
- Insulation materials (fiberglass or foam board)
- Sauna stones
- Cedarwood or other suitable lumber
- Vapor barrier
- Bench materials
- Screws, nails, and basic construction tools
Consider eco-friendly or budget options like recycled wood or energy-efficient heaters.
Step-by-Step Construction Process

Insulation and Vapor Barrier
Start by insulating your walls with fiberglass or foam board. Then, install a vapor barrier to prevent moisture damage.
Framing and Paneling
Frame your sauna walls using sturdy lumber, ensuring they can support benches and the heater. Cedarwood is a popular choice for its resistance to moisture and pleasant aroma. Panel the interior walls and ceiling next.
Installing the Sauna Heater
Choose a heater based on your size requirements and power availability. Ensure it installed according to manufacturer instructions and local codes. Remember, safety first!
Ventilation
Proper ventilation is key to a functional sauna. Install an adjustable vent near the heater and another on the opposite wall.
Benches and Door
Build benches at two heights – lower for less heat and higher for more. Install a door with a non-locking mechanism for safety.
Finishing Touches
Personalize your sauna with comfortable seating, mood lighting, and perhaps a sound system for relaxation. Hygrometers and thermometers are also useful for monitoring the environment.
Maintenance and Safety Tips
Regularly clean and inspect your sauna. Check the heater and ventilation system periodically. Always follow safety guidelines like staying hydrated and limiting time spent in the sauna.
Conclusion
Building a sauna in your basement is a fulfilling project that enhances your home and wellbeing. Enjoy the satisfaction of creating a personal wellness retreat and share your experiences with us!
Looking for more wellness tips and curious about sauna use? Check out our latest Sweat Decks blogs for more Health and Wellness tips


Share:
Should You Drink Water in the Sauna
Infrared vs Steam Sauna: Understanding the Differences